
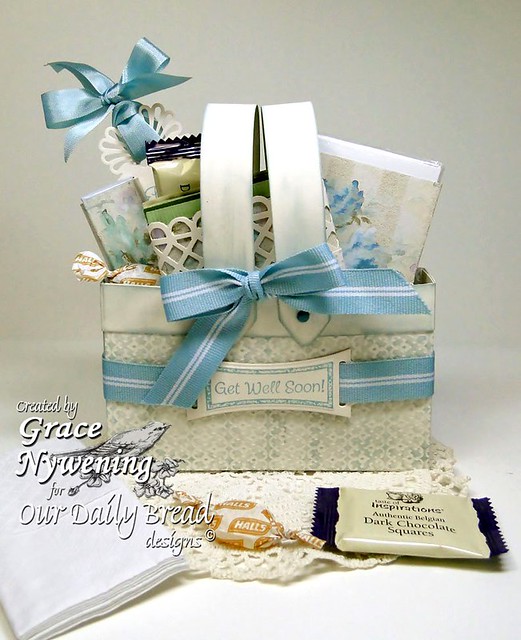
Here is the much-requested tutorial for the Picnic Basket I made for the May 1 ODBD Blog Hop. I used a different color card stock this time just to show a different look for it. I hope you enjoy it and find it helpful!
Materials Needed:
Good quality card stock (I used Papertrey Vintage Cream here)
Our Daily Bread designs Vintage Border Embossing Plate
4 small brads
Ribbon and Embellishments as desired
Ink for sponging if desired ( I used VersaColor Laurel Leaf 1" cube)
Hole Punch
Strong Adhesive (Red tacky tape or TomBow Metal Glue work great)
Snips
Instructions:
Along the long side of your card stock:
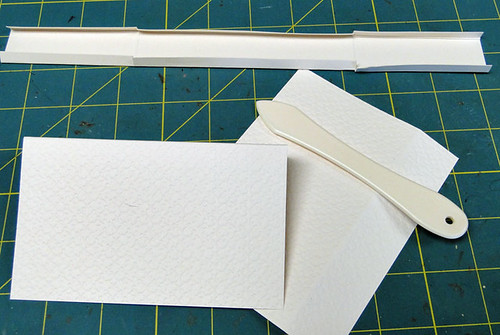
Cut 1 strip of card stock to 1 1/2" wide x 11" long
Cut 2 strips 3/4" wide x 8" long (handles)
Cut 1 strip 3/4" wide x 5 7/8" long (top strip)
Cut 1 strip 3/4" wide x 11" long (top strip)
With what's left of your 8.5 x 11" cs, cut two pieces about 4 1/2" x 5 1/2".
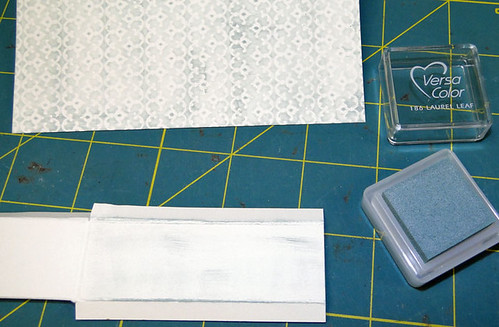
Emboss the two 4.5" x 5.5" pieces with the Vintage Border Embossing Plate.
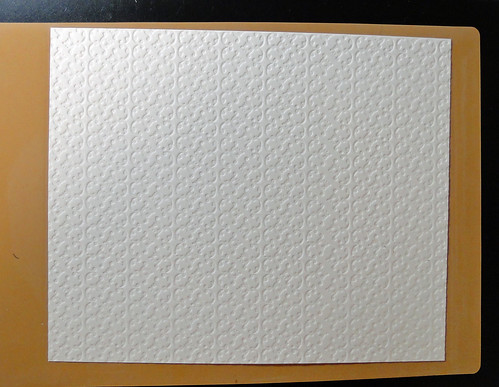

Trim them to 4 x 5". (Embossing can shrink your size just a bit so I like to emboss a slightly larger piece and then trim it to the exact size I need.)
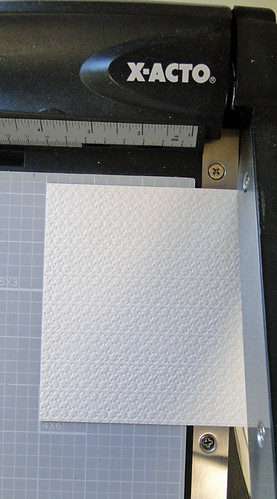
Score these 4 x 5" pieces at 1" along the long side. (This will form the fold that goes inside the basket and hides the backs of the brads) So your basket will be 3 x 5" when this 1" is folded inside.
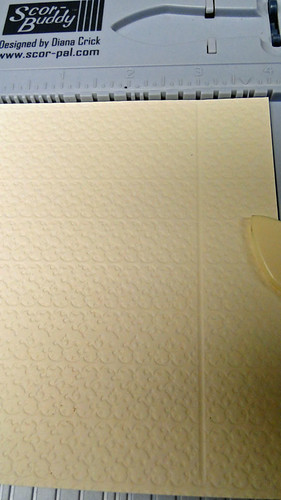
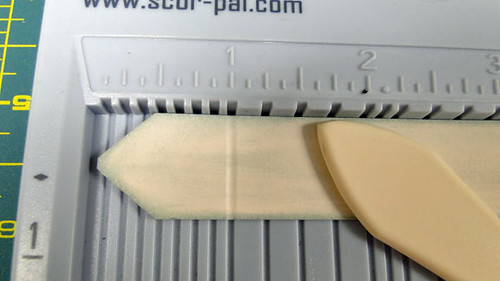
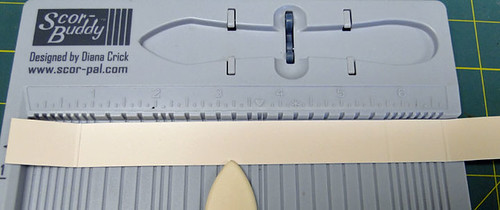
Score the 1.5" x 11" strip along the LONG sides, in 1/4" from each side.

Score this same strip 3" from each short side and with snips slit in to the long score mark at the 3" scores
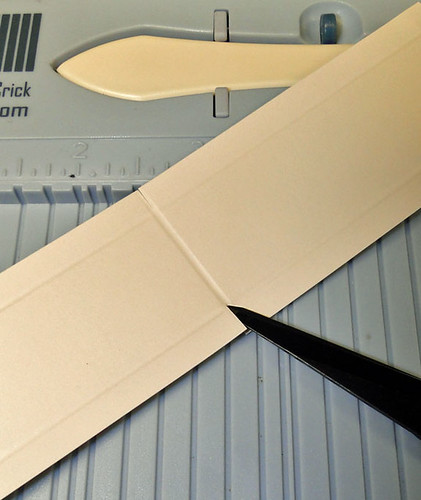
Fold and burnish all score lines
If you want to apply any ink to your basket, this would be a good time to do so. I used a 1" cube and applied directly to the card stock, trying for a streaky effect on the solid parts.
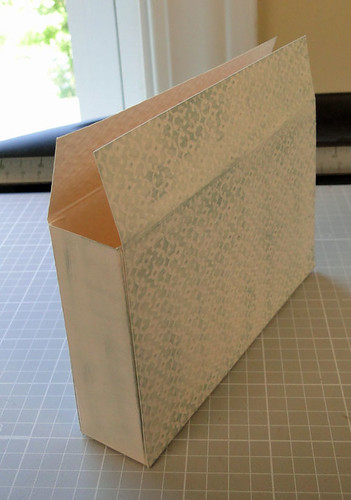
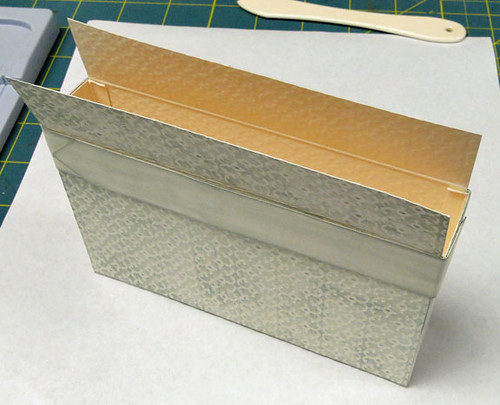
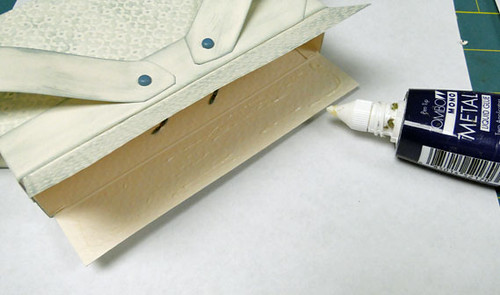
With the scored line at the top of your 4 x 5" pieces, start adhering your 1/4" folds of the 1.5 x 11" strip to the back side of the front and back of the basket. Work one side at a time. (Be sure to use a strong adhesive. I use TomBow Metal as it gives me a little wiggle time, but holds FIRM! It does NOT need much, so don't worry about complete coverage if using the TomBow.) * NOTE: Begin from the bottom of the basket and work up. The sides will end at the point of your 1" score line that runs across the top of the basket.
Sorry about this photo.. it's actually got the scoreline at the bottom, as I turned it after assembling it, but it is easiest to assemble from the bottom up as described... it's just the photo that's upside down! :(
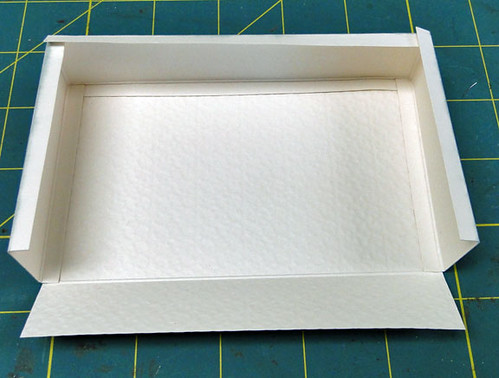
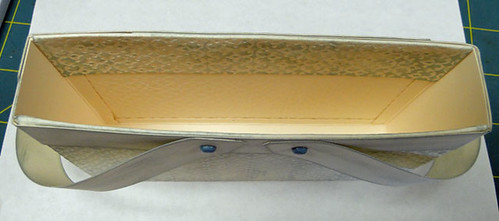
Repeat for the other side and your basket will now look like this:
Score the 3/4" x 5 7/8" strip at 7/8" (This is the short top strip)
Score the 3/4" x 11" strip at 1", 6 ", and 7 1/8" (This is the long top strip and will just have squared ends) ** This is the only tricky part. If you prefer you can wrap the strip around the basket and mark with a pencil where the 3 folds will come, and score there. My measurements worked exactly but if you are just a tad different on your measurements than mine, you might need to tweek the folds so they fit snugly around the corners of the basket
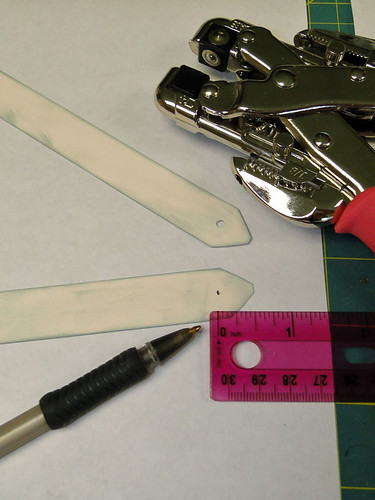
Trim the ends of the handles (3/4 x 8" strips) to a point/ or squared off triangle shape if desired. To do this, I draw the shape I want and cut one, then use that one as a template for the others.
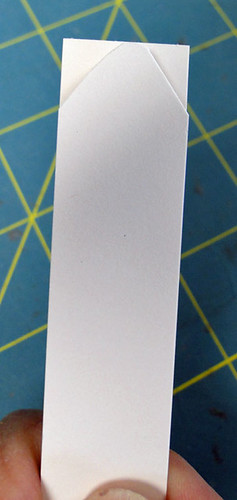
Trim both ends of the 3/4 x 5 7/8" top strip in the same way.
Adhere your longest top strip (3/4 x 11") to top of your score line on the basket, (NOT the edge of the paper. If easier, fold that top flap into the basket while doing this step)
NOTE: This strip will start at one end of the 1" side, wrap the entire front side, the second 1" side and part of the back side. Then adhere your shortest top strip (3/4" x 5 7/8") overlapping the trimmed ends over the first longer strip. (This way both ends that show are trimmed... see photo below)

Now your basket will look like this:
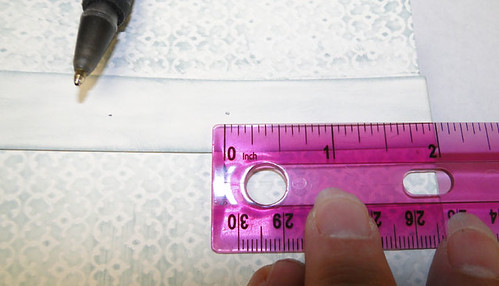
Punch holes 1/2" from each end of your handles (for brad)
Measure 2" in from both ends of basket, make a tiny mark and punch a hole there on both sides. Put brad through handle, then hole in basket and secure on all four spots.
Put brads through each handle and then the basket body, securing on inside.
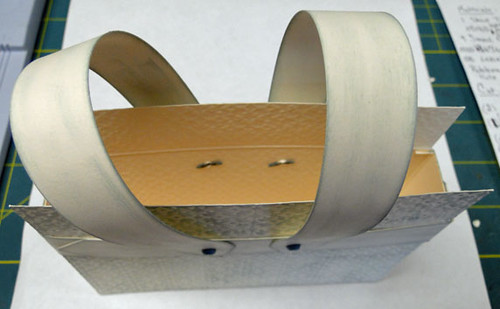
Fold the top flap of the basket to inside of the basket, adhere.
This finishes off the inside nicely and covers the brads.
Embellish as desired.
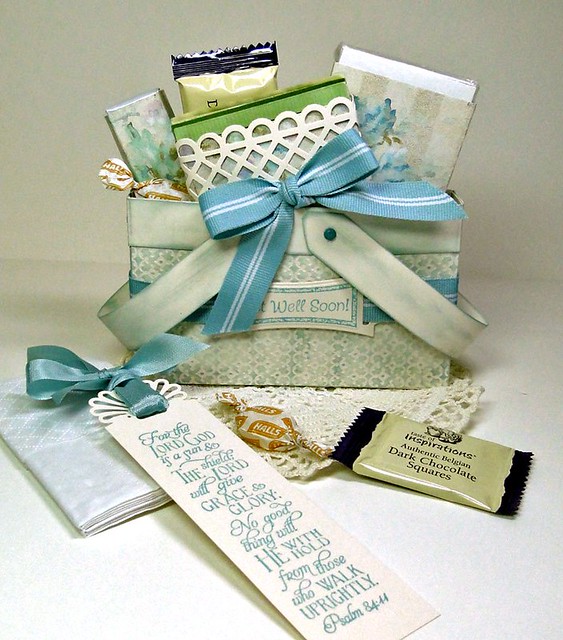
For mine, I decided to make this one a Get Well Basket, so I used Our Daily Bread designs Mini Tags 2, Spellbinders Ribbon Tag Trio Three, Our Daily Bread designs Scripture Collection 6 (for a bookmark I added to my basket). I used SU! Baja Breeze ink and Grosgrain Ribbon, and Martha Stewart ribbon for the bookmark. I used Crafty Secrets designer paper to make wraps for a travel pack of tissues, a bundle of tea bags, and a pack of throat lozenges. I tucked in a few cough drops and some Dark Chocolate to lift the spirits.


Brilliant, thank you for sharing :)
ReplyDeleteGlad you like it! I have made a ton of these for teachers. I was surprised at the amount of stuff I could get inside!
Delete